
My goal with this post is to get you ready and excited to ferment foods in your own kitchen. Fermentation is available to anyone who wishes to learn and practice. It is a huge category, with a wide range of techniques within it, ranging from super easy and beginner friendly to much more complex. We’ll focus on the beginner-friendly side of the spectrum here, though I mention more advanced fermentation from time to time in the interest of thoroughness.
Fermentation is truly open to all. It can be begun quickly and easily, with very little initial financial investment. Read on or click around through the table of contents to learn all you need to know about fermentation for beginners.

What Is Fermentation?
Fermentation means allowing microbes–bacteria, fungi or yeast, or sometimes mold– to transform food. The process involves creating an environment that encourages certain microorganisms to thrive (and discourages others). When the right bacteria or yeasts are given the right conditions and some time, magic happens! Well, not magic, science.
The broadest definitions of fermentation include a much wider variety of foods than you may immediately realize. Many of us focus on sauerkraut, kimchi, and yogurt when we hear the words “fermented foods”. And while those are fantastic and should not be overlooked, the fermented foods universe goes way beyond that. I’ll dive more into some categories of fermented foods below.
Benefits of Fermented Foods
Taste
First of all, fermented food is delicious. The impact that the fermentation process has on taste depends on the food and the method involved (soy sauce, pickles, wine, and many cheeses are all either fermented, or byproducts of fermentation). Suffice to say that some of the most delicious and versatile foods out there have benefited from fermentation. Fermented food seems to come up a lot lately in health conversations, and there’s good reasons for that, but it should be mentioned more often simply for how much flavor we owe to fermentation.
Health promotion
There’s a lot of fascinating research and information out there on the gut microbiome and how it affects one’s overall health. I won’t dive too much into specifics here, but I’ll provide a couple links for those interested. Lacto-fermented foods in particular are probiotic, meaning they contain beneficial bacteria which can improve the diversity of the bacteria in your gut (you want this).
The fermentation process also might help make certain vitamins and nutrients in foods more bioavailable (easier for your body to use effectively). Fermentation essentially partially pre-digests food (sounds grosser than it is), making it easier for your body to complete digestion and extract nutrients.
Preservation
Fermentation is also a good way to preserve or extend the life of foods. You can’t bring rotten stuff back to life through fermentation, but you can certainly ferment veggies that are starting to look a little sad, thus giving them a second chance to be useful.
Fermentation is also an age-old method of food preservation, making fruits and vegetables stable for a long time. I’ll still recommend that you store your fermented foods in the refrigerator, but they’re going to last an impressively long time in there. There are exceptions to this, however- for example, sourdough bread is the result of fermentation but won’t last as long as plain old flour.
Intro to Basic Types of Fermentation
Lacto-fermentation (Lactic Acid Bacteria)
Lacto-fermentation refers specifically to fermentation by bacteria which produce lactic acid as a byproduct of their metabolism (you may encounter the words lactic acid bacteria [LAB] or lactobacillus). Fruits and vegetables in particular tend to already contain lactic acid bacteria, so it’s just a matter of encouraging these good bacteria to grow and multiply (while discouraging gross stuff from doing the same). Usually, we do this with salt, as they tolerate salt well (while many harmful bacteria do not). They thrive without oxygen.
Lacto-fermentation, particularly of vegetables, is extremely beginner friendly. All you need to get started is some veggies, a container, and salt and water. Most lacto-fermented vegetables are ready for consumption within a week.
Many of the fermented foods you may be already familiar with are a product of lacto-fermentation, like sauerkraut or fermented pickles, but this process also contributes to many other fermented foods, sometimes in combination with wild yeasts. Many fermented foods that require a starter rely on a combination of LAB and yeasts, such as sourdough, kombucha, kefir, ginger beer, and many others.
Acetic Acid Bacteria
Acetic acid bacteria are the bacteria responsible for creating vinegar and kombucha (usually together with yeast).They convert alcohol to acetic acid. These aren’t the most beginner-friendly processes, so I won’t focus too much on them in this post.
Fungi/Yeasts
Sourdough bread is the result of wild yeasts, cultivated by fermenting flour and water into a sourdough “starter”. Sourdough deserves its own post–it is beginner friendly, but there’s so much to say about it, it becomes its own topic.
Yeast is also responsible for converting sugar into alcohol: grapes into wine, apples into cider, pears into perry, honey into mead. Listen to a sommelier talk about wine and it may seem complex, but the basic process is a simple matter of fermentation. Grapes contain a lot of naturally occurring yeasts, and when picked and left to ferment, they will. The yeasts ferment the sugars present into alcohol and carbon dioxide.
You may have heard the term SCOBY before–possibly in relation to kombucha. SCOBY stands for “Symbiotic Community Of Bacteria and Yeast”. Kombucha is fermented using a SCOBY, as are dairy and water kefirs. SCOBYs tend to grow and proliferate themselves, so the best way to get one is usually from someone who already has one.
Mold
If you mostly associate mold with spoilage, you’re certainly not alone. Most in the West have encountered at least a few cheeses fermented by mold, but in some cultures (particularly in Asia) using mold to ferment is actually much more common.
Tempeh is made by growing molds on soybeans (or some other combination of legumes & grains). Koji is a Japanese mold used to ferment rice, barley or soybeans. These can be eaten, or used to make miso, soy sauce, sake and other fermented foods.
Growing desirable molds requires a steady climate of 80-90 degrees and humid, so most must use an incubation chamber to create the correct conditions. I definitely consider these to be more advanced processes, and as of yet I haven’t attempted them myself.
Wild Fermentation vs Cultures
What is wild fermentation vs culturing, and which should you use? Wild fermentation means allowing foods to ferment using only the bacteria and wild yeasts that occur naturally in the environment and on the surface of the food, not adding any microbes yourself. Culturing refers to deliberately adding some amount of bacteria, yeast, fungus, or sometimes mold to food to cause the fermentation that you want. You may also hear the term backslopping which means saving a bit of your ferment to add to your next batch that you make. For example, you may hold back some of a batch of yogurt or a couple tablespoons of the pickle brine from your fermented pickles to help inoculate your next batch.
Different foods respond to each technique. Some fermented foods might use both- for example, when you’re first creating a sourdough starter you are relying on wild fermentation to get your starter established, but then the starter becomes the culture to ferment the bread dough. A ginger bug is created in a similar fashion to make ginger beer.
Much of the time, lacto-fermentation of vegetables relies mostly on wild fermentation, since the desired lactic acid bacteria already exist on the surface of the food. Your job then just becomes encouraging those bacteria to take hold, grow and transform the food. However, you still have the option to encourage this process along with a culture, in some cases, like the pickles I mentioned above.
Kefir, yogurt, kombucha, and many other ferments rely on cultures.
What Should I Ferment First?
I tend to recommend beginning with either lacto-fermented vegetables or kefir. These are very beginner-friendly options: they are quick, simple, and require relatively little equipment and hands on time. I will go into both of these in more detail further down in the post.
What You’ll Need to Get Started
Equipment
- Wide mouth mason jars of various sizes- quart jars are probably the most versatile if you only want to own one size. Glass jars make for excellent fermentation vessels, and accessories like fermentation weights and lids tend to be made to fit the wide mouth jars.
- Kitchen Scale– I highly, highly recommend owning a basic kitchen scale. A lot of fermented foods recipes, mine included, call for salting to be done by weight.
- Cutting boards, knives for prepping vegetables and fruits for fermentation
- Fermentation weights: these are optional, especially as you’re first starting out, but they’re pretty affordable and quite effective at keeping your stuff submerged.
Ingredients
Water
Filtered water is best when fermenting food. Treated water can contain chlorine or chloramine which is not ideal for fermentation. If filtered water is unavailable to you, try leaving your water out prior to use to allow the chlorine to evaporate.
If you are fermenting something by “dry salting”, you will not need to add water, but you will need to massage it enough with the salt to draw out its juices.
Salt
Salt is another ingredient present in a great deal of fermented foods. You’ll notice that most fermented foods recipes call for kosher salt or sea salt, not table salt. The reason for this is because standard table salt contains both anti-caking agents and iodine, both of which have the potential to inhibit bacterial growth.
Salt does not cause the food to ferment, but it does prevent the growth of some undesirable microbes that could theoretically compete with the good ones in the absence of salt.
It also makes things taste delicious. I’ll talk below about what to do if you’re finding your ferments too salty.
Cultures
Cultures may be optional or required, depending on the food you’re trying to create. Dairy kefir, for example, is very easy to make but absolutely requires you to purchase kefir grains first.
Substrate
A “substrate” is simply a fancy word for “the food you want to ferment”.
Are Fermented Foods Safe?
In a word–yes, they are. Cultivating the good organisms that cause our desired fermentation processes to take place generally increases the safety and stability of foods. This is because when good bacteria or other microorganisms take hold, they leave less and less opportunity for bad ones to do so. The bad bugs get crowded out.
I’ll mention botulism because I think there can be confusion about how it happens- and it’s reasonable to be nervous about botulism! Clostridium botulinum, which causes botulism, takes hold in foods mostly from poor canning technique, not fermentation. Botulism doesn’t like competition from other microbes, and it would have a very hard time taking hold in a fermented food. It also doesn’t like acidic or salty environments- which is what we create for fermentation.
There is a notable exception to this that the CDC points out here: fermented fish can contain botulism and requires special care. We won’t talk fermented fish in this beginner’s guide.
What To Expect & Frequently Asked Questions
What Changes To Expect
Most fermented foods will display some bubbles, possibly surface foam as the bubbles rise. You should expect a faint sour smell also (not putrid). Some changes in color and texture should occur as well–most often, foods get somewhat softer and more muted in color.
Brines often get cloudy–this is normal.
Why Isn’t It Bubbling?
Most ferments should bubble in some way or another due to the carbon dioxide which is a byproduct of fermentation. If you see NO bubbles a few days after you begin fermenting, something may be off. Start by stirring to evenly distribute microbes throughout. If your kitchen is very cold, this could be slowing things down as well.
In some cases, this could mean your starter is bad (like if water kefir never bubbles), but I would not recommend leaping to this conclusion.
How Long Should It Take?
This is going to depend on a few factors: the food you chose, the temperature of your kitchen, the wild microorganisms present in the air. Some of these we can control a bit, some not so much.
In the case of lacto-fermentation, if you’re seeing no changes at all to your food within 3 days or so, something might be wrong. After that, the length of fermentation is often a matter of taste.
Some processes can take much longer, such as that of turning alcohol into vinegar via acetic acid bacteria.
Is My Fermented Food Bad?
Mold present on the surface of brine can be skimmed off, if you’re comfortable with that. Mold that has clearly taken hold in the food itself means that it’s time to throw that food away (unless the mold was put there deliberately to begin with, of course). Submerging vegetables in brine should prevent mold formation.
A thin, white film on top of the brine is also common, harmless and can simply be skimmed off.
Other than that, your own sense of smell and taste can guide you. Anything that smells clearly rotten and repugnant should probably get tossed. I do mean truly repugnant, though. Fermented foods do have an odor that may take some getting used to, but it should definitely not smell putrid.
Maggots are a risk if you leave ferments uncovered- bugs can get in and lay eggs, leading to maggots. I highly recommend lightly covering your food, especially during buggier seasons. Sandor Ellix Katz, in his indispensable work The Art of Fermentation, recommends throwing away the top layers of food if maggots are present because they always want to crawl up and out. I’ll be honest: I’m throwing away anything maggoty.
How much fermented food should I be eating?
“Start low, go slow” is a phrase we used to use in my nursing career (usually referring to pharmaceutical dosing), but I think it works here too. If you are brand new to fermented food- particularly live-cultured food or lacto-fermented foods with tons of live bacteria- it pays to start with small servings and gradually increase. Digestive upset (bloating, etc) can occur if you suddenly shock your system with a daily quart of sauerkraut.
You know your body, and can probably feel your way through how much fermented food might make sense for you to start with. The serving sizes I’d personally suggest vary by food. For lacto-fermented fruits and vegetables, I’d probably start with a couple tablespoons. For kefir or another fermented dairy product, maybe 4 oz.
Once you’ve been dabbling in fermented foods for awhile, gently increase.
How should I store my fermented foods?
Generally speaking, in the fridge.
Yes, fermentation long pre-dates refrigeration, but cold storage is definitely best for the longevity of your fermented foods–for one thing, if they stay warm, they’ll keep on fermenting at the same rate long past when you want them to stop.
Your First Ferment Step by Step
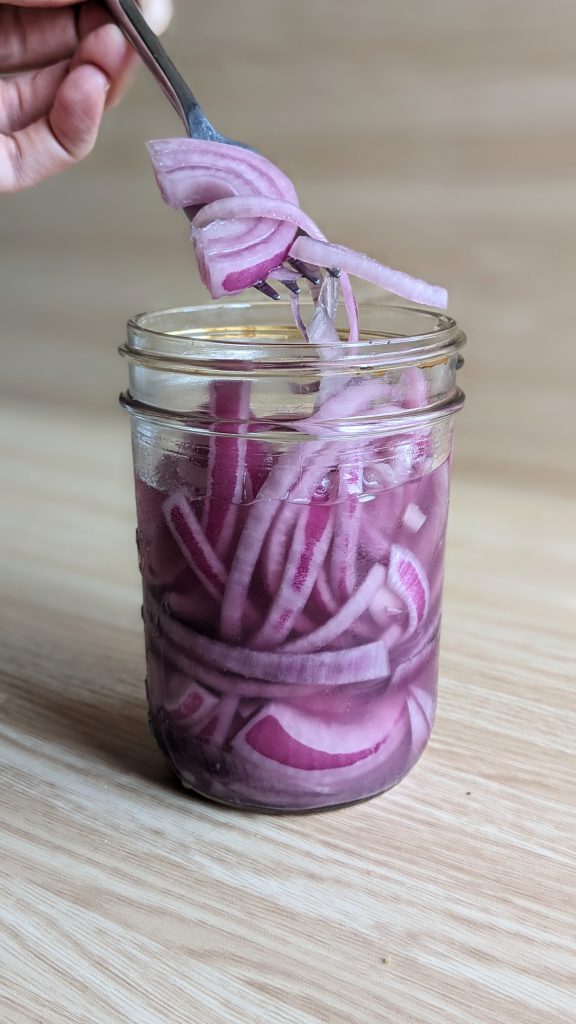
I recommend starting with lacto-fermented vegetables, for a few reasons. They’re beginner-friendly, they’re relatively cheap and easy, and they’re incredibly delicious and versatile. Once you’ve gotten comfortable with this process, you can ferment nearly any of your favorite vegetables. A whole new world of food experimentation will have opened up to you!
If you want a post that focuses exclusively on lacto-fermented vegetables, check out this post here.
Fermentation guru Sandor Katz, whose work I highly recommend for all those looking to go deeper, summarizes the vegetable fermentation process thus: “Chop, Salt, Pack, Wait”. We’ll go a little more into these steps below:
Step 1: Gather your equipment and ingredients
You will need: clean jars, a kitchen scale, cutting board and knife, water, salt, and the vegetables you wish to ferment. Optional but helpful are fermentation weights: these are basically little glass disks designed to keep your veggies submerged to prevent mold.
I have usually included jar sterilization as a step in my fermentation recipes. There are definitely multiple opinions out there on whether this is necessary. If you are comfortable, you may simply start with well cleaned jars. If you prefer to sterilize, clean the sink, place jars in, boil water and pour it thoroughly over the jars. Remove them to a clean towel on the counter with tongs and don’t handle them until they’re cool.
Obviously, jars sterilized like this are not going to stay sterile, and not at all so once food is introduced, but it is a way to get them even cleaner than soap and water will accomplish.
Which vegetables should I ferment?
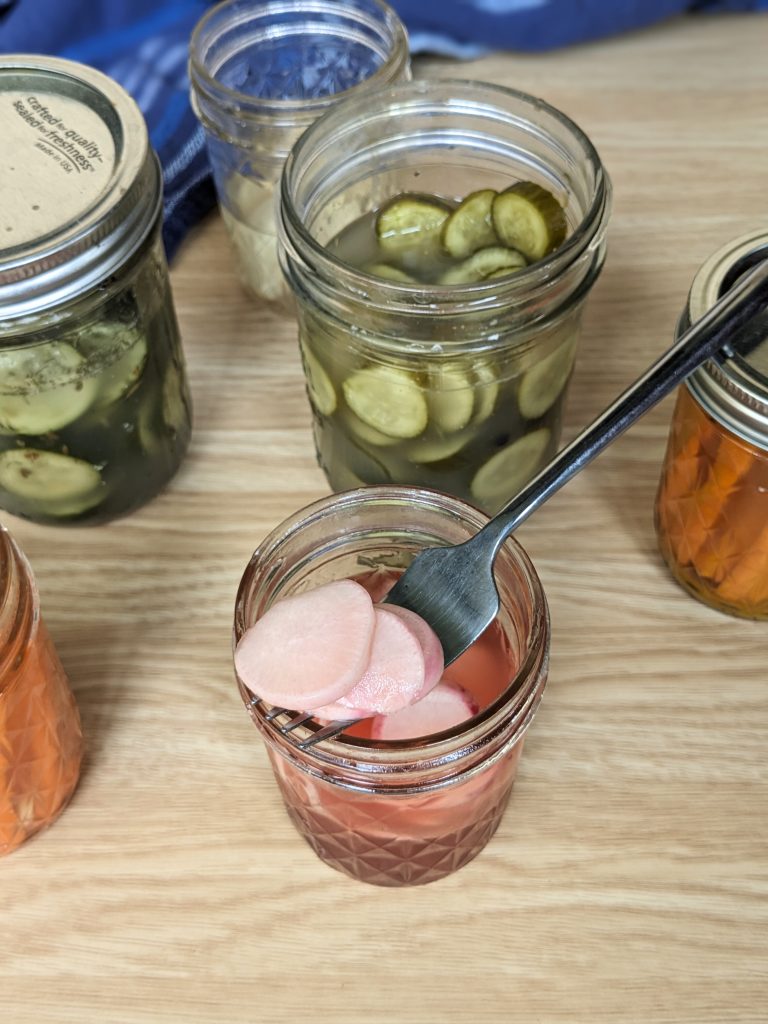
Cabbage, radishes, carrots, turnips, beets, parsnips, rutabaga, eggplants, peppers, cauliflower, brussels sprouts, onions are all very good options, but by no means an exhaustive list.
Step 2: Prep your vegetables
How you choose to prepare your vegetables will dictate how you apply the salt. Vegetables that are prepared in a way that make them want to release water can have salt directly applied (called “dry salting”); vegetables that either don’t want to release water or should maintain some structural integrity should have the salt mixed into water first, then poured over the vegetables in the jar (“brining”).
In short, if you are dry salting, you will want to shred or finely chop your vegetables. If you want them left whole or in large chunks, plan to brine them.
Step 3: Apply salt
A note on salting: I tend to call for this to be done by weight. This is not strictly necessary. I find it helpful because it gives you a jumping off point: if you’ve found something much too salty and you know you dry salted at 3.5% the weight of the food in grams, you can drop it to 3% or 2.5% next time and create a product you like better without winging it.
If the thought of doing math in the kitchen is off-putting, you can absolutely try just salting lightly. It will probably work flawlessly. To make a brine without the math, try 2 Tablespoons of kosher salt per quart of water.
To dry salt by weight: 2.5% salt is a good starting point. Weigh your prepared vegetables in grams, multiply the number by .025, and add that amount of salt in grams directly to the vegetables. For brine, same process, but I start with 5% salt by weight stirred into the water.
If you have shredded your vegetables and are dry salting them, you need to massage the salt in with your hands until the vegetables release enough of their juices to submerge in. You’ll likely be able to tell when this is: most of the time juices are reluctant to release at first and then all of a sudden you’ve got plenty.
If you have chunky vegetables to brine, you will mix the salt directly into the water, then pour it over your vegetables.
Step 4: Leave to ferment
Pack your vegetables into your jars. If you have a brine, pour it directly over the vegetables, making sure they are submerged, but leaving a little headspace at the top of the jar for bubbling.
If you have dry salted, firmly pack everything in (there are tools to make this easier–I often use the end of a wooden spoon) and pour the juices in on top. The veggies should have released enough to be submerged.
If you are using fermentation weights, place them on top.
Leave the jars on the counter. You can place them on a plate or tray to catch any overflowing brine.
After 2-3 days, when you are starting to see signs of fermentation (bubbling, color changes), you can start tasting. I recommend tasting daily after this point. Let them ferment until you like what you’re eating. The bacteria are eating the sugars naturally present, so they’ll get less sweet with time.
Step 5: Enjoy!
When you like what you have, take the weights out, put lids on your jars and put them in the fridge.
Enjoy! I like serving small amounts of fermented vegetables alongside many different meals, in place of or in addition to fresh veg.
You may want to hold back a bit of the now-fermented brine to culture your next batch.

Fermented Ginger Carrot Sticks

Ingredients
- Carrots
- Fresh ginger root
- Filtered water
- Kosher salt
Instructions
- I've neglected to include amounts in the ingredients because this recipe is totally adaptable-base your amounts on the number of jars you have, or the amount you feel like making! One note, though: ginger can become overpowering kind of quickly. One possible ratio is 1Tbsp ginger to every 4 cups of carrots. I often simply include a couple thin slices of ginger root to every pint size jar.
- Sterilize your jars: I do this by placing my jars in a clean sink and pouring boiling water over them. You could also fill the sink with boiling water, and use a tongs to submerge each jar. When they are cool enough, remove jars to the counter. They will not stay sterile on your kitchen counter, but this step will still serve to rid them of a lot of potential bad bacteria.
- Wash, peel and slice your carrots to your desired size. Wash, peel and slice or grate your ginger root as well.
- Place your carrot sticks and ginger in your jars. They should be cut to a length that will allow the brine to fully cover them without spilling out of the jars.
- Make your brine: I do this by zeroing my kitchen scale with a large liquid measuring cup on it, then adding water to the measuring cup. Take the weight of your water in grams, then calculate 5% of that weight, in grams (for example: 500g water x .05= 25g)
- Your calculated 5% figure is the amount of salt you should add, in grams. Add your calcuated amount of kosher salt, then mix until the salt dissolves.
- Pour the brine over the top of the carrots, until they are fully submerged. I find that carrots do an okay job staying under the brine, but you can also use fermenting weights to accomplish this.
- Leave the carrots at room temperature to ferment. You can cover them with a valved lid designed specifically for fermentation, or you can just partially twist on the regular jar lid–if you do this, un-twist it every day to make sure any built up gases can escape.
- The length of fermentation time needed depends on a couple of factors, especially the temperature of your kitchen. In the summer, I let my carrots ferment for 3 days. In the winter, it could be more like 5 or more. After a couple days, you should start seeing bubbles rising in the jar: the evidence of fermentation. After 3 days, you can start tasting your carrots, and stop fermentation when they've reached your desired sourness. ("Sour" doesn't seem like the right word–I think you'll see what I mean)
- When your carrots have finished fermenting, close jar firmly with a lid and transfer to the fridge.
- Enjoy! These make a great side to all sorts of dishes, or a snack on their own.
Notes
Nutrition
Beginner-Friendly Fermented Foods To Try Next
I personally find dairy kefir to be very beginner friendly as well, and that’s what I recommend you move to after fermented vegetables.
To make dairy kefir, you’ll need kefir grains (must be obtained–you cannot make these from scratch on your own) and milk to feed them. The same quart jars you are using for your vegetables work here too.
If you get your kefir grains from a friend, most likely they’ll be very active and ready to go. If you’re buying grains off the Internet you may need to activate them, and they should come with instructions.
Once your kefir grains are active, you’ll simply stir them into milk and leave the jar on the counter to ferment. The speed at which your milk will turn to kefir depends on your grains, the temperature of the kitchen and the amount of milk you’re fermenting, so you’ll want to watch and get to know your grains. When the milk is thickened but not yet separated into curds and whey, it is done. Strain the mixture to remove the grains.
My personal favorite way to serve kefir is to simply blend it with frozen fruit- it makes for a tangy, fruity breakfast smoothie.
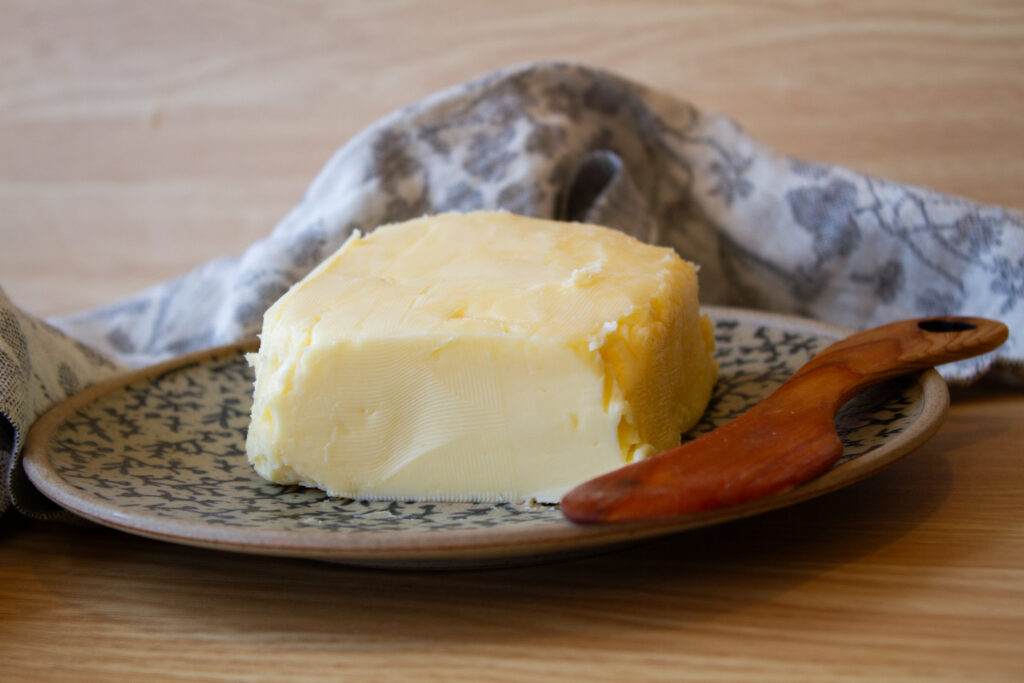
Once you’ve mastered kefir, check out my post on cultured butter here.
Common Mistakes to Avoid
Don’t give up too easily
Fermentation is a wild and variable process, with the final product partially dependent on the environment it’s being fermented in. Your instincts and tastes are an important part of the process! A good fermented food recipe should have you feeling confident and equipped, but it’s still important to be willing to learn and try again with fermentation. You will learn a lot as you go.
Don’t tightly seal ferments at room temperature
Carbon dioxide is a byproduct of fermentation–hence the bubbling! If ferments are tightly sealed, the gasses will build up. In some cases, you can even have explosions.
Keep things lightly covered at room temperature!
Don’t forget your food is alive
Smells will appear, the appearance will change, and brine may overflow. Leave some headspace at the top of the jar or put it over a tray or plate, and don’t be put off by changes!
Pin this Fermentation for Beginners post for later:

I hope this post has you feeling equipped to get starting fermenting in your home kitchen! If you have further questions, leave a comment below or email me at carol@sisuhomemaker.com.

What are you going to try fermenting first?!